Learning How to Brake Safely and Effectively | Bike Safety Tips
Video Blog
June
02, 2021
Learning How to Brake Safely and Effectively Bike Safety Tips
Copy Link
http://www.sixthreezero.com/blogs/bike-advice/learning-how-to-brake-safely-and-effectively-bike-safety-tips
Hi guys, it's Alanna here with Sixthreezero. Today, I'm going to go over how to properly and safely break using handbrakes.
So, if you have a Sixthreezero bike, and this is the case with pretty much any bike, the rear brake is going to be on the right and the front brake is on the left. So, these do differ and how you want to use them is pretty important to know before you get out there biking. So, the rear brake is best for slowing down, and the front brake is where all of the stopping power is. So, I can demonstrate how those work right now. You can see if I only apply the rear brake, you can still move the bike, and the rear wheel pretty much just stays still but drags along. Whereas, if I apply the front brake, the bike doesn't move, but the rear might pop up a little.
So, when coming to a stop, it's important that you apply these brakes appropriately. So, first, you will want to apply the rear brake, and then the left brake, and make sure that you're using equal force with both, and that should bring you to a nice stop. And then when releasing the brakes, you want to reverse the process. So, first release the front brake, then the rear brake, and then continue.
Now, if you don't have the best balance, there are some things you can do to make breaking a little easier for you. The first is to make sure that your seat is low enough so that you can put your whole foot, or at least your tiptoes on the ground while seated. So for me, I like to be able to put my toes on the ground. And then, another thing you can do is practice leaning to one side. So, in my case, every time I break, I immediately put one foot down and it's usually my left foot.
So, it would be a good idea to practice, just leaning, doing that lean to one side and knowing which side you're going to lean to, ahead of time. So, usually, we have a more dominant side that we always stick to, for me, it's my left, but it might be different for you, so it's good to know that beforehand. And you can just from the seated position, practice leaning, or you can even put one foot on a pedal, and then practice leaning to one side, before then moving on to practicing, moving, breaking, and then adding the lean.
So, before you go out on your bike, you may want to get accustomed to the brakes before you get into a situation where you need to brake quickly. So, there are few things that you can do to practice. First, I would suggest doing what I just showed you. So, just practice using the handbrakes, before even mounting the bikes. So, just to get a feel for how your bike moves and stops with the brakes, you can try the right, try the left, and then practice applying them, as I said, right then left and then release.
So, once you're comfortable using the brakes while walking the bike, then you can transition to riding the bike. And I would suggest practicing in a large parking lot, something like this, or if you have a long driveway that works too. And you can even set up a finish line that you can practice as a marker for where you want to break. So you can just get used to breaking at the right spot and using the brakes appropriately. So, we are going to use cones to demonstrate, but you could use cones if you have them, or chalk or any sort of landmark to practice with. So let's see how that works.
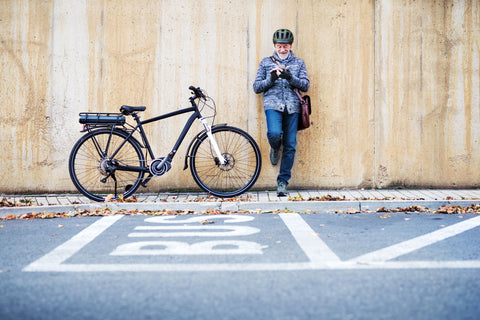
So just a few additional tips, for using your brakes, before you get out there riding. When you break, you do want to put your weight in the rear, to avoid flying forward. If you are using your brakes properly, that shouldn't really be an issue, but you still want to put more weight on the back. Because like I said, more of the stopping power is in the front, and that will just keep you more stable. Additionally, you want to avoid breaking on any sort of painted lines, like these parking lines you see here because that will give you less traction and you might not be able to break as quickly.
And lastly, if it's raining, you also want to give yourself more time to brake, because again, you'll have less traction on the wet ground, so just make sure you know that it's going to take a little bit longer to get to a stop. So, those are all of my breaking tips. Hopefully, that's helpful to you, remember to practice before you get out there, If you don't feel comfortable, you will get it, it does take practice. Hope you found this helpful. Like, and subscribe for more tips, and let us know in the comments if you have any other subjects that you want us to cover. It's your journey, your experience, enjoy the ride.
Take our Free Body Fit Questionnaire
Similar Articles
2021 Best Electric Bikes for Short Riders
If you fall outside the average measurements of most folks, you know that sizing items are...
eBike
How to Bike Uphill - With & Without an Electric Bike
Getting started when biking uphill, it's going to be hard when you start off, especially if...
Video Blog
Bike Benefits How Biking Can Improve Your Fitness at All Ages
Now that spring is here, it's sunny, you definitely want to get that vitamin D and...


